💥 Our new & improved browser extension lets you manage your meetings, scheduling links, and contacts in a single click
Table of contents
Adding online booking to your site can instantly turn website visitors into booked meetings as soon as they decide they want to schedule with you. Potential customers don’t have to wait to hear back from someone after filling out a ‘contact us’' form, and your team can save valuable time on back-and-forth phone calls or emails. It’s an all-around easier booking process for everyone involved.
Calendly’s scheduling software makes it easy to add booking functionality to your website. You just connect your Outlook, iCloud, and/or Google calendar(s), and the booking website only shows your available time slots. Then, all you need to do is add an embed code to your site.
Website embeds are available on all Calendly plans — including the free one! — and they’re easy to add to your site. No extra plugins necessary.
And, if you want to get more selective about who can book with you, Calendly Routing lets you qualify and schedule leads right from your marketing forms.
Read on and learn how to add user-friendly online booking to your website. Or, if you’re ready to dive right in, check out this step-by-step video tutorial:
Choose how your booking calendar will show up on your site
There are three easy ways to embed Calendly into your website. Whichever type of embed you choose, you get all of Calendly’s user-friendly features, including:
Showing availability in visitors' time zone
Automating reminders and follow-ups via email and SMS with Workflows
Collecting important pre-appointment info through custom questions
Adding Zoom meeting details to every virtual meeting
Accepting payments at booking through Stripe and PayPal integrations
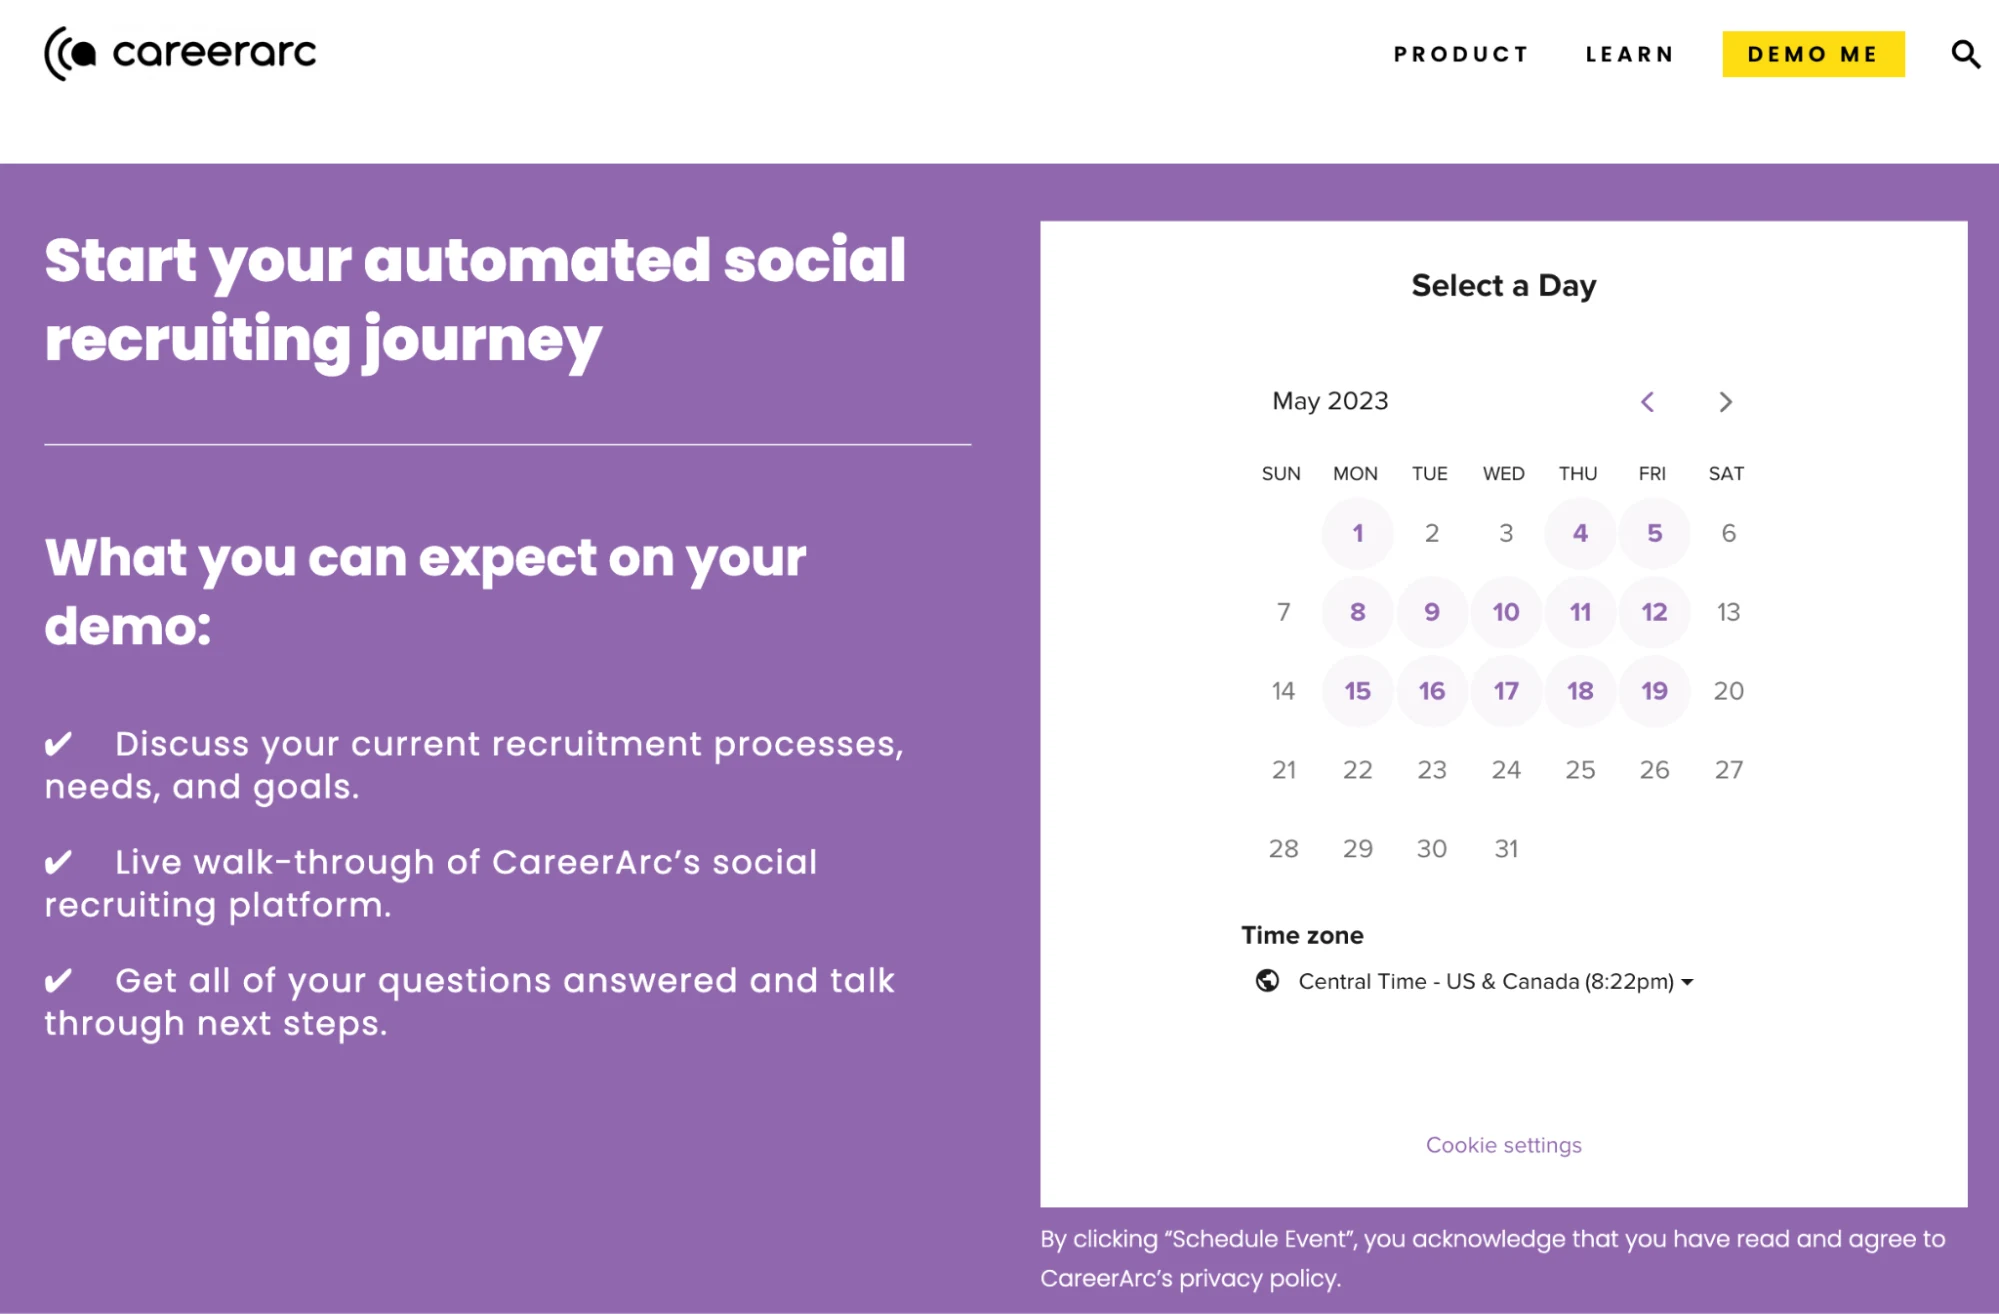
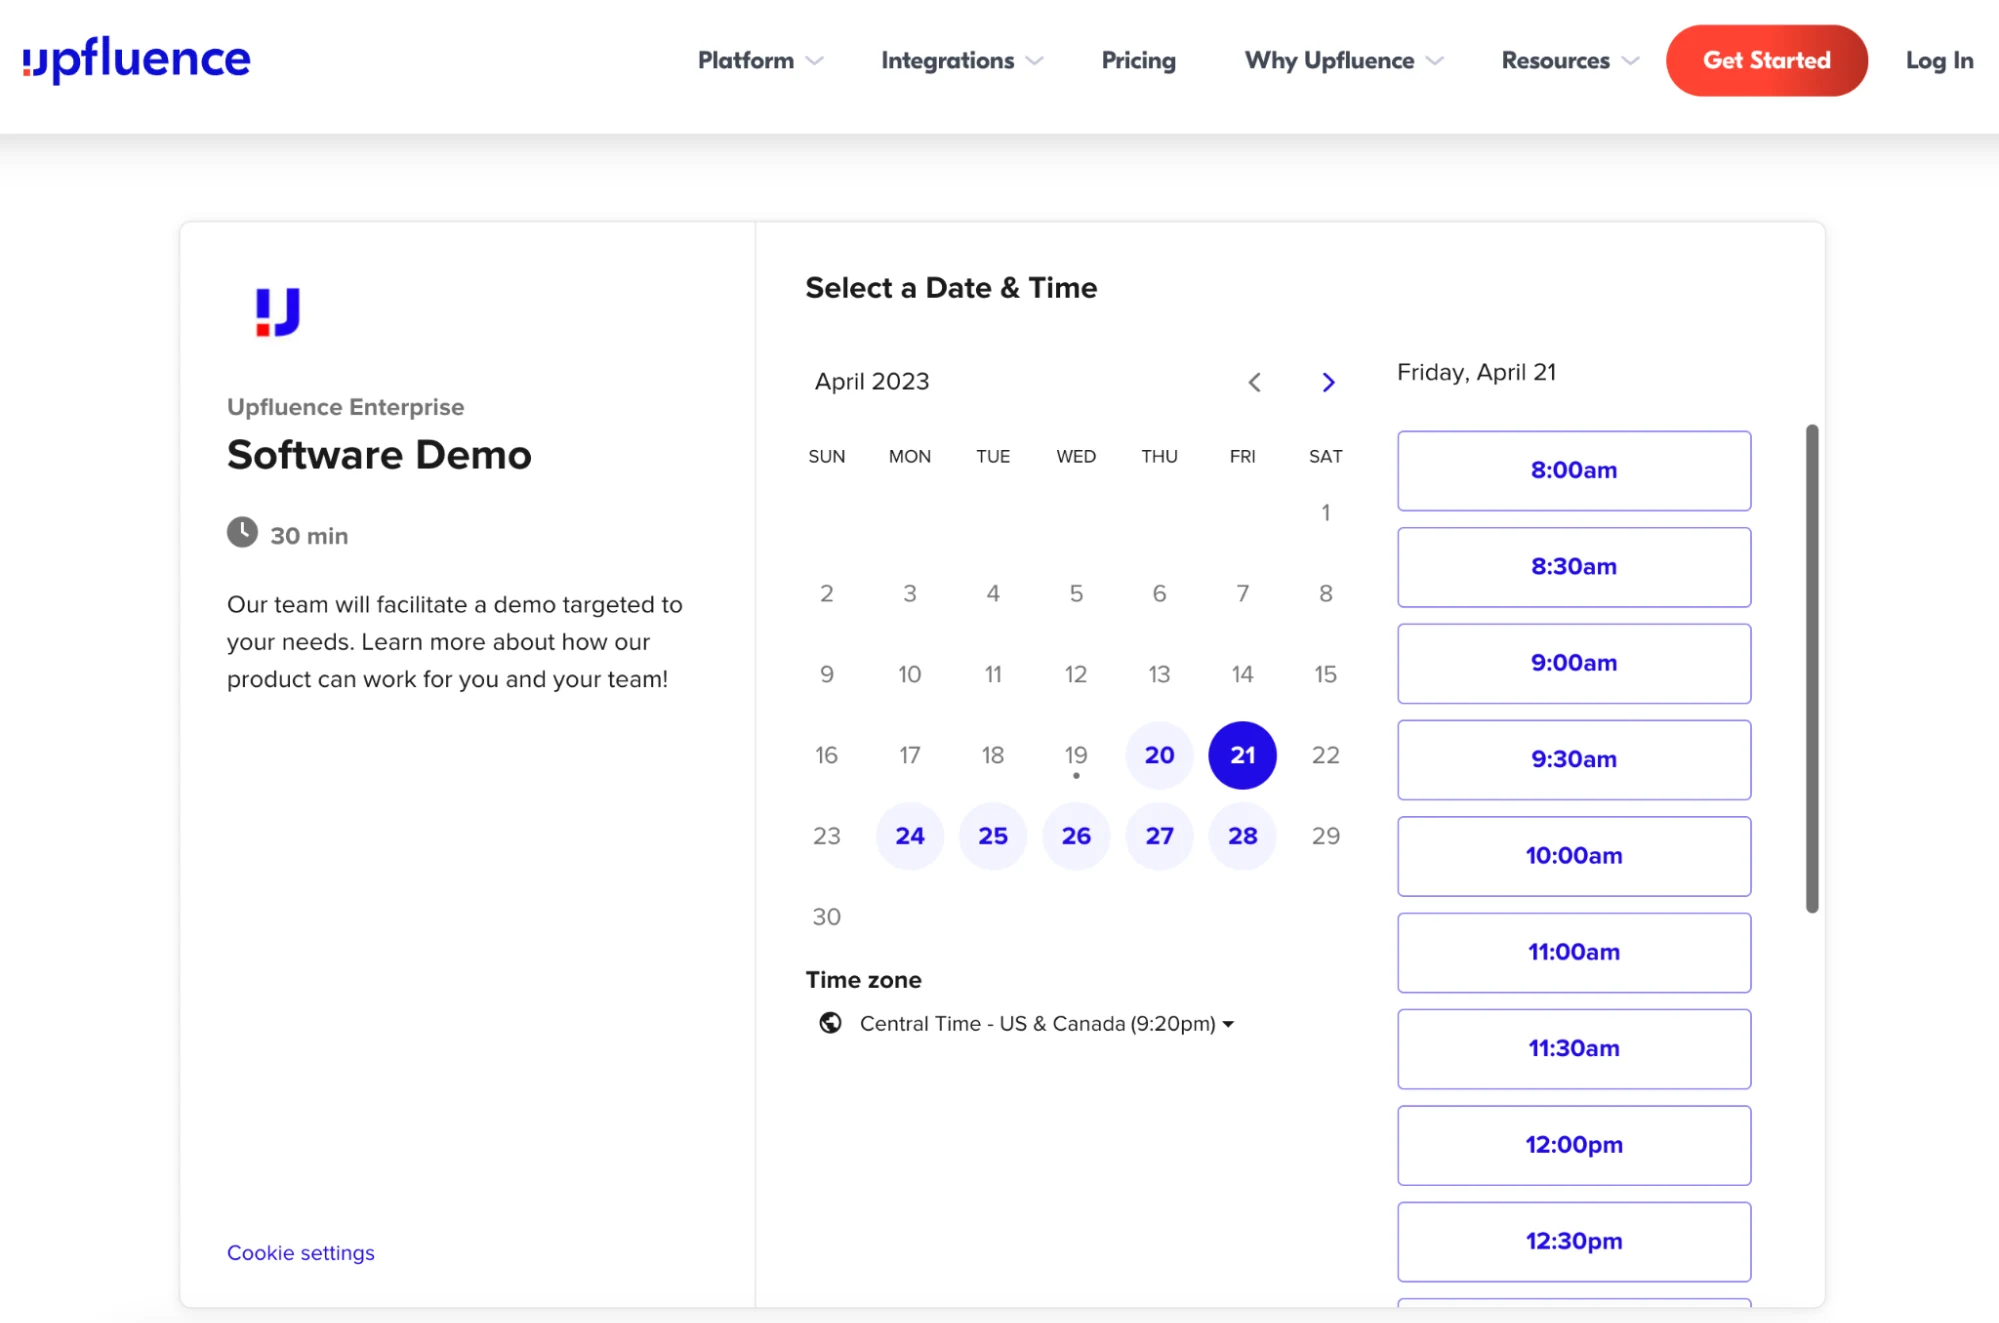
1. Inline embed
Use this type of embed to place your booking calendar seamlessly within the body of your site, giving visitors easy access to online appointment scheduling.
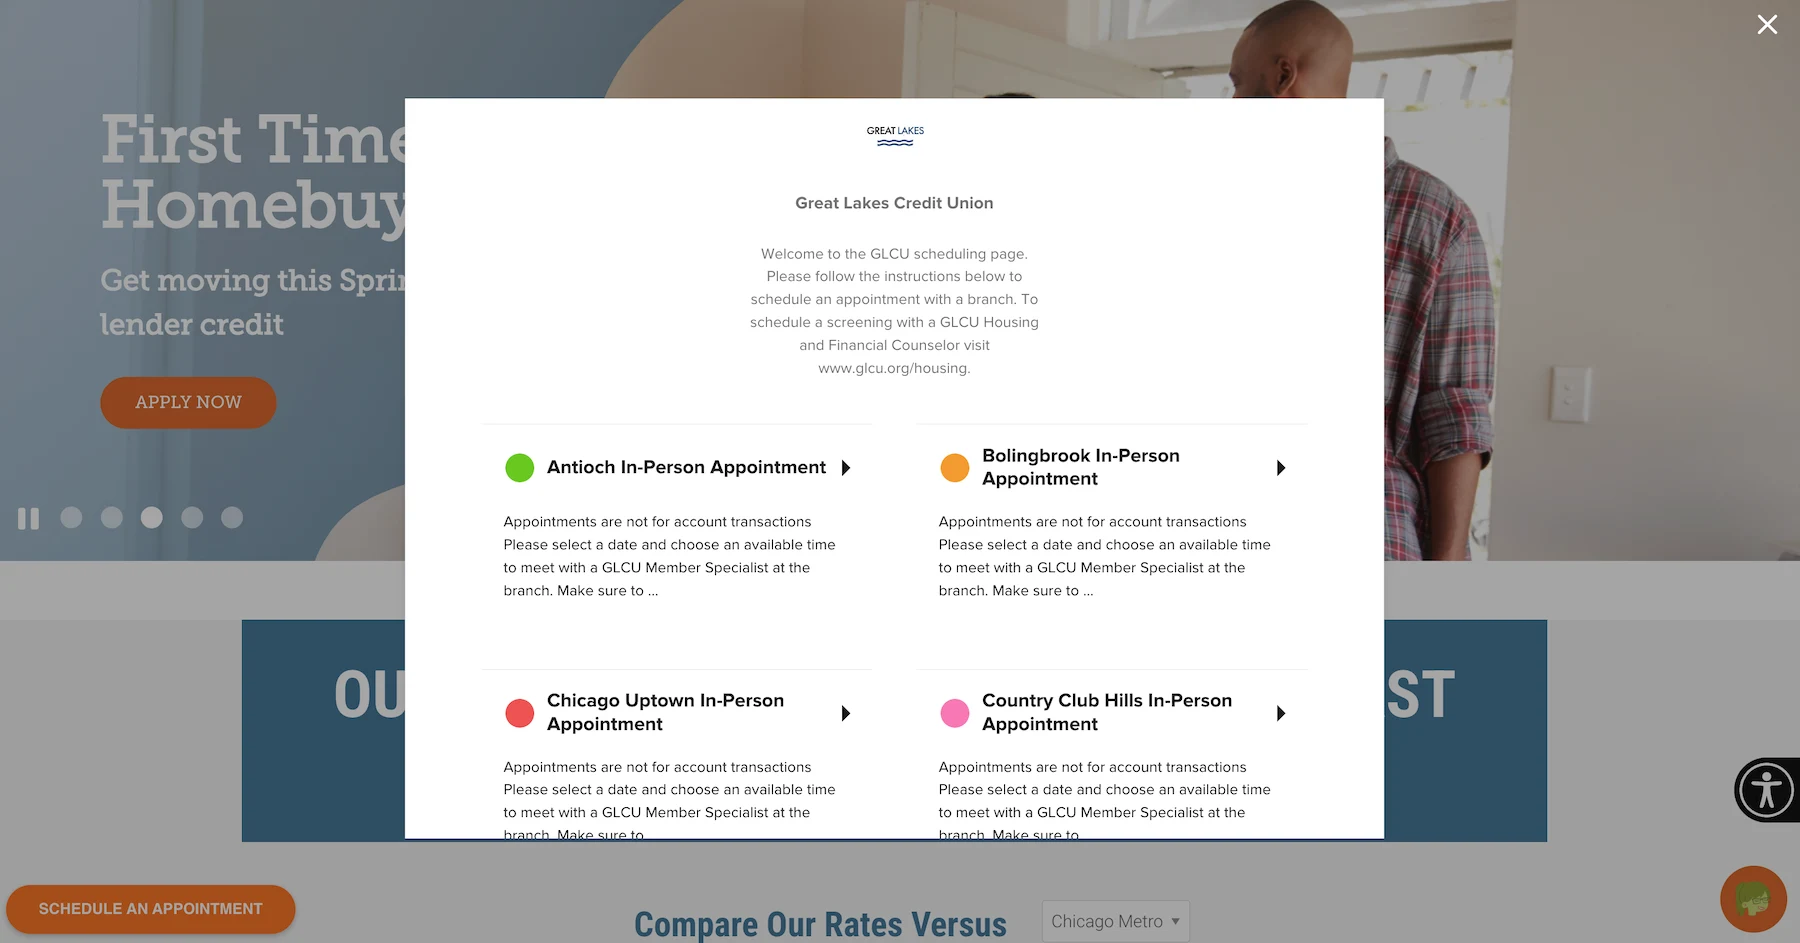
2. Pop-up widget
A pop-up widget keeps your scheduling options a click away, no matter where a visitor is on your site. The booking widget adds a hovering call-to-action (CTA) button in a corner of your site. You can customize the button with messages like “book a demo” or “schedule time with our team.” When clicked, the button opens Calendly in a pop-up window.
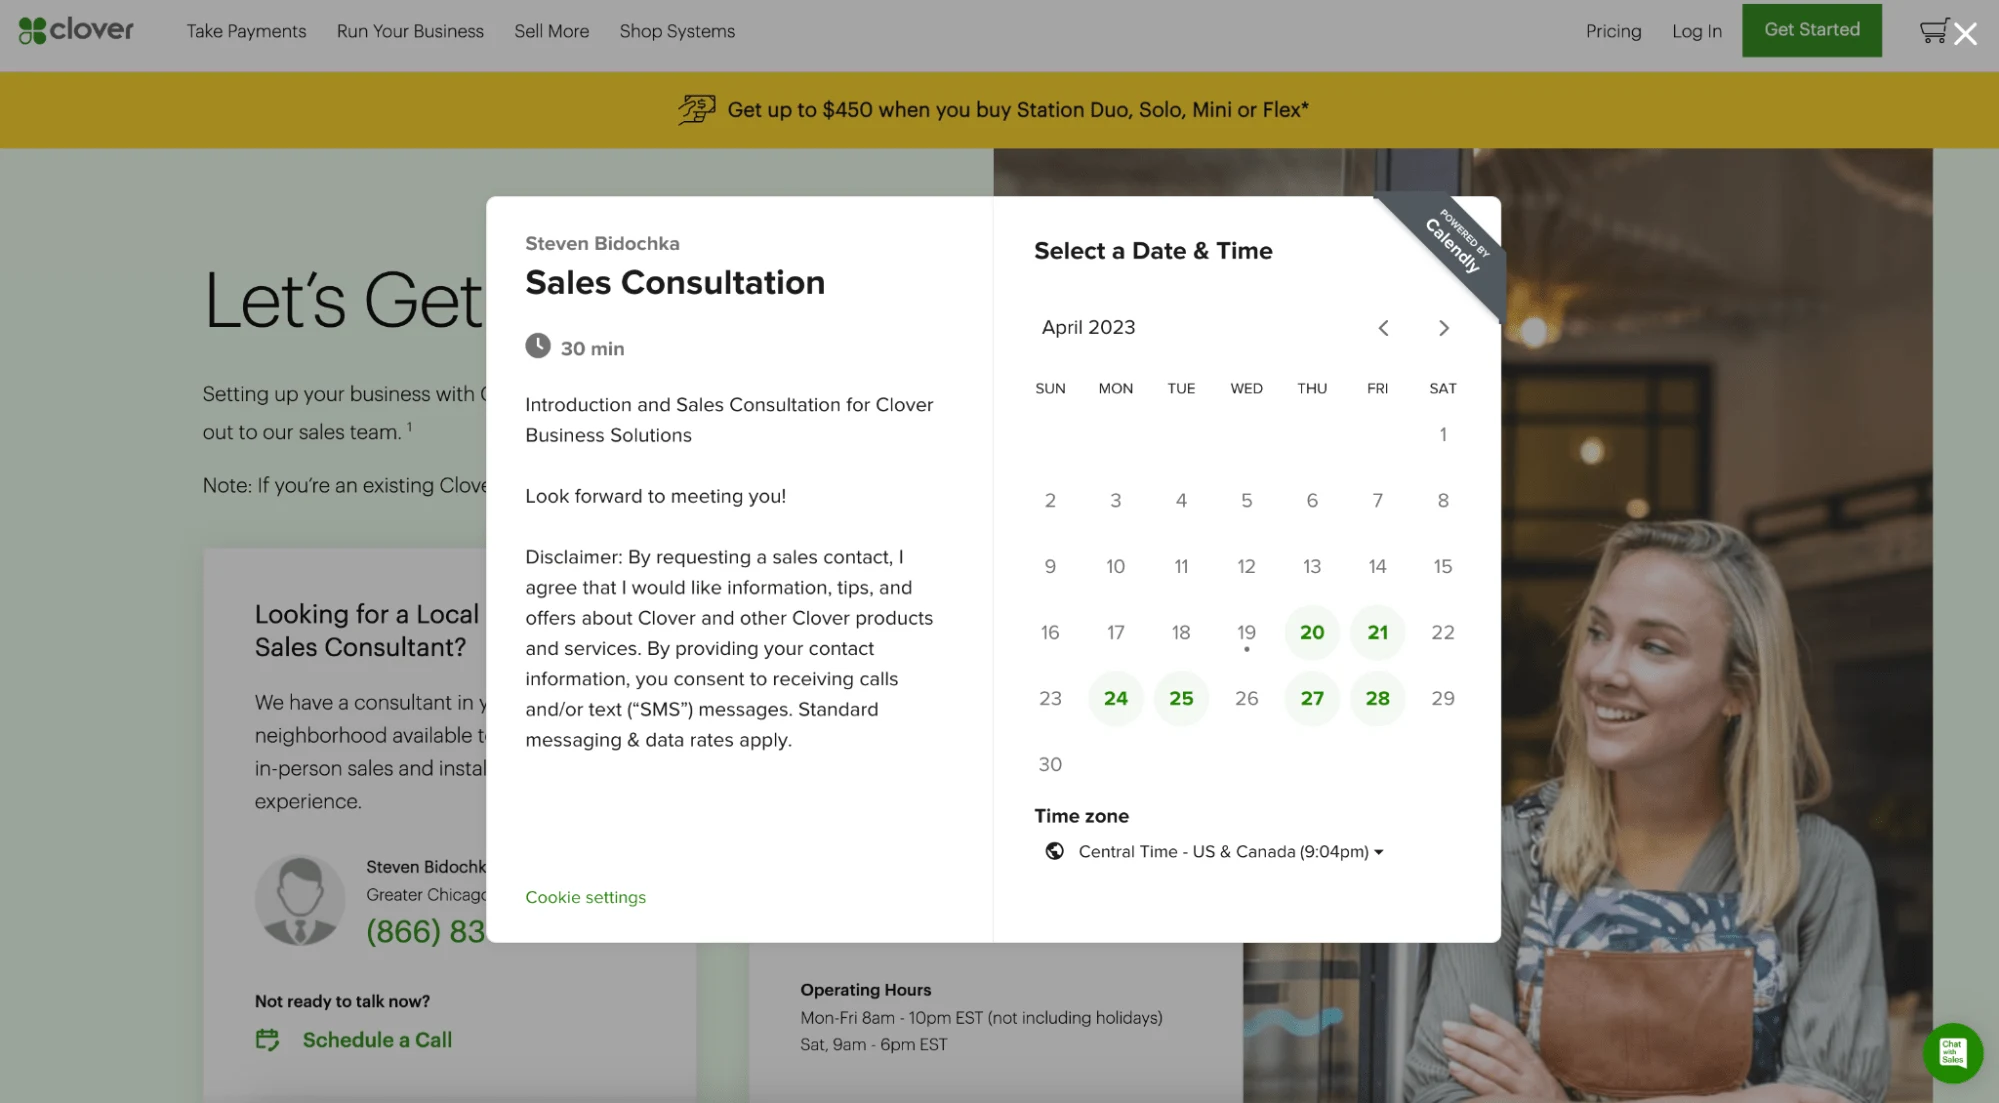
3. Pop-up text or CTA button
If you want to offer a more subtle way for visitors to book appointments, try adding a scheduling CTA in a page’s body copy or a button. Clicking the linked text opens the Calendly booking platform in a pop-up window.
Want to see what a Calendly embed looks like from a site visitor’s perspective? Visit our demo site to explore and try booking a meeting through any of the embed options above. (Scheduling time via the demo site adds a fake meeting to your calendar so you can see the full experience. Remember to delete that meeting when you’re done testing.)
How to add your customized calendar embed to your website
Now that you know more about your embed options, you’re ready to create a personalized embed code that adds Calendly’s online booking system to your website. It starts with choosing the type of scheduling page you’d like to share.
Step 1: Choose a booking page
Embed a calendar for one meeting type
For a simple booking solution, it’s easy to embed the booking page for a single Event Type on your website. If you’re new to Calendly, think of Event Types as templates for appointments or meetings you'll schedule regularly, like an hourlong initial consultation or 30-minute client check-in.
(Users on Calendly’s free plan can only have one Event Type, so if you’re a free user, this is the embed option for you!)
You'll add all of the details — location, duration, description, intake form questions — when you first set up your Event Type, so you don't have to manually enter them for every new booking. Whenever a client goes to book that appointment type, all the info will automatically show on the booking page.
Let’s say you want potential customers to sign up for 20-minute intro calls via your website. You’d embed the booking page for that Event Type, so that’s the type of meeting visitors would be able to book through your site.
Here’s how to get your embed code:
On the Event Types tab on your Calendly homepage, choose which Event Type you want to embed
Select “Share”
In the pop-up, select “Add to Website”
Choose your preferred embed type

Embed a landing page with multiple meeting types
As your business grows, you may want to provide multiple appointment types for your customers — for example, a salon offering three kinds of massages, or a small business coach offering 30- and 60-minute consulting sessions.
If you want to offer visitors more variety, embed a landing page with multiple Event Types. Users on all paid plans can create more than one Event Type. (That added flexibility is why many Calendly users upgrade to a paid plan!)

Calendly automatically creates a landing page that shows all of a user or team’s active Event Types. To embed that landing page on your site:
Go to the Event Types tab on your Calendly homepage
Find the team or user whose landing page you'd like to share
Select the gear icon, then “Add to Website”
Choose the type of embed that you prefer
Step 2: Customize your embed
Once you’ve chosen a booking page and embed type, you can customize the appearance to match your brand.
Color and button text customizations are available for the pop-up widget embed, and you can edit the text shown for the pop-up text option. Users on all paid plans can also change the scheduling page’s background, text, and button color.
If you already share info about your online scheduling somewhere on your web page, you may want to remove the duplicate info in your embedded Event Type. It’s easy — just check the “Hide event details” box. This option hides your profile picture as well as the Event Type name, event duration, location, and description. You can also choose to hide the cookie notification banner on your embed.

Step 3: Get the embed code
Once you’ve settled on the look and feel of your embed, select “Copy code” to grab the custom code. Paste the copied code into your site’s HTML editor, and you’re ready to go!
Hot tip
For more detailed information and FAQs about embedding Calendly on your website, visit our help center. You’ll find beginner-friendly tutorials on embedding Calendly with some of the most popular website builders and online stores, including Squarespace, Wix, WordPress, and Shopify.
How to qualify and schedule leads from your website forms with Calendly Routing
What if you don’t want to let everyone who comes to your website book a meeting?
With Calendly Routing, show scheduling pages only to leads who meet your qualifications, like prospects from specific industries or companies of a certain size. That way, your busy team can spend their valuable time on the potential customers that matter most.
Add Calendly Routing to your existing Marketo, HubSpot, or Pardot forms, or build new forms in Calendly.
Once they fill out the form, Calendly Routing automatically sends qualified visitors to the right booking page based on their form responses, so they can schedule immediately. If a visitor doesn’t qualify for a meeting based on their form responses, you can show them a custom message with next steps, ask for more information, or redirect them to a specific URL.
If you integrate with Salesforce or HubSpot CRM, Calendly can send known leads or customers directly to their account owner’s booking page. A behind-the-scenes lookup means no one has to spend time manually reassigning leads.
“We’re seeing an incredible 26% increase in demos booked through the form. The experience is clearly resonating with customers and it’s driving better end results for our sales and marketing teams.”
Bryce Kropf
Sales Enablement Manager at Smith.ai
Users on Calendly’s Teams plan and above can add routing to their HubSpot, Marketo, Pardot, and Calendly forms, including routing by HubSpot CRM account matching. Routing by Salesforce account matching is only available on the Enterprise plan. Learn more about Calendly Routing.

Qualify, route, and book sales meetings instantly
Turn ‘contact us’ into ‘book now’
With just a few clicks, you can connect with website visitors, improve the scheduling process for you and your customers, and book more meetings with qualified leads. All it takes is adding scheduling to your website with Calendly.
Ready to turn website traffic into booked meetings? Sign up for free today.
Get started with Calendly

Rachel Burns
Rachel is a Content Marketing Manager at Calendly. When she’s not writing, you can find her rescuing dogs, baking something, or extolling the virtue of the Oxford comma.
Related Articles
![[Blog hero] Calendly for Microsoft Teams chat: Real-time meeting updates](https://images.ctfassets.net/k0lk9kiuza3o/55PsJ5NVWemeXSw2b5Txii/4d410bcbb3cc6f4c6a242af1d7fb81e6/Calendly_MTeams_Hero__1_.png?q=85&fm=webp)

Don't leave your prospects, customers, and candidates waiting
Calendly eliminates the scheduling back and forth and helps you hit goals faster. Get started in seconds.
Calendly eliminates the scheduling back and forth and helps you hit goals faster. Get started in seconds.